HOW TO – Use Sensors with ScienceWorkshop Interfaces
Our introductory labs use many different types of sensors that can be connected to the ScienceWorkshop interfaces and used to take and record measurements with the DataStudio program.
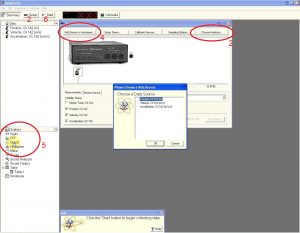
- Open the DataStudio program on your computer. If there is no obvious shortcut, it can be found by searching in the Start menu. Unless you have a pre-made setup (.ds) file, you can click “Create Experiment”.
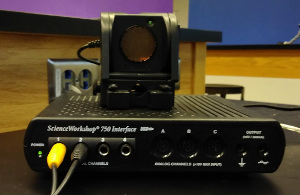
- If a message informs you that the interface is not connected, click the “Setup” button in the toolbar and then “Choose Interface”. Look on the front of your interface to determine its model (500, 750, etc.) and select this in the dialog that appears. If this fails to work, check that the interface is turned on and try plugging its USB cable into a different port. If all else fails, the computer may need to be restarted.
 Plug your sensor(s) into the matching ports on the front of the interface. If you’re using a motion sensor that has two 1/4″ plugs, plug the yellow one into the first port, then the black plug into the next-higher port.
- Click the “Add Sensor” button in the Setup dialog. Click the port the sensor is attached to (the yellow plug if using a motion sensor), and select the type of sensor from the list that appears. The default options for most sensors are fine.
- Now you need a way to display data from the sensor. The Displays sidebar on the left-hand side of the program window lists different ways to show recorded data. Usually you will want a graph, so you can see trends in data over time or in relation to another variable, but sometimes you may just want a meter or digits that shows the current reading of the sensor. Double-click the display type you want and select the measurement it should show. The axes of graphs can be changed by clicking on the axis label.
- Press the “Start” button to begin recording data from all connected sensors. You can record multiple sets of data by starting and stopping.
